
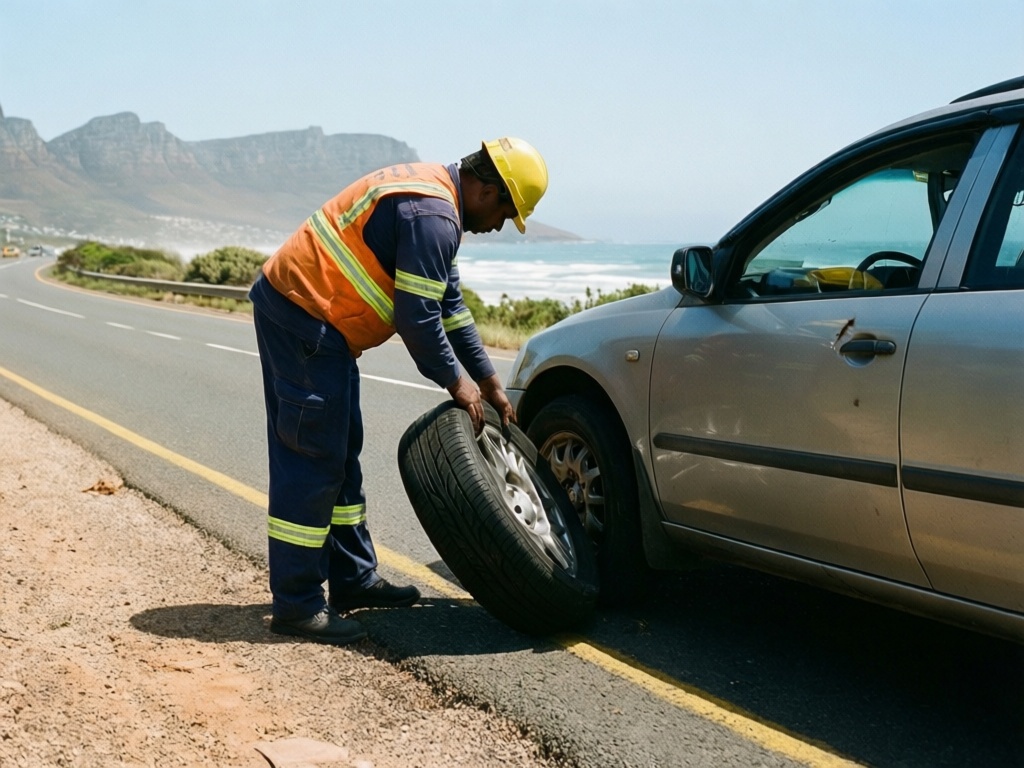
A practical, safety-first guide for motorists facing a puncture. Learn how to find a safe spot, use your tools correctly, and manage the limits of a spare wheel without putting yourself or others at risk.
Where is the safest place to stop?
When the engine starts coughing or a tyre goes flat, your first job is not to fix the car, but to find a bit of safety. You must look for a wide shoulder or a flat patch of ground well away from the moving traffic. If you can reach a petrol station or a quiet side street, take it, because being stationary on a busy road is asking for trouble.
Do not just stop wherever the car decides to die, especially if you are on a high speed highway or a winding road with blind corners. You need enough space to get out of the vehicle without walking into the path of other cars. If the shoulder is too narrow, you might have to keep driving slowly until you find a spot that lets you pull far enough off the tarmac.
Once you have stopped, turn your wheels away from the road and pull your handbrake tight. This is basic, but if someone clips your car from behind, you do not want the vehicle rolling into the lanes. Put your hazard lights on immediately so the drivers behind you can see you are in a bad spot before they get too close.
If you find yourself stuck in a place where you cannot get far from the lane, you must be even more careful with your placement. Set up your warning triangle well behind the car to give people plenty of time to react. It is better to walk a bit further to set it up than to leave drivers guessing about what is happening ahead of them.
How do you warn oncoming traffic?
Once you have pulled off the road, your next task is to make sure the drivers coming around that bend or over the hill see you before it is too late. You cannot rely on just your hazard lights alone because a car with blinking lights can sometimes look like someone is just stuck in traffic. You need something extra to tell them that there is a real problem ahead and they must slow down.
If you have a warning triangle in your boot, this is the time to use it properly. Do not just leave it right next to your bumper, as that gives a fast driver no time to react. You should walk well back from the vehicle, ideally at least fifty meters away, and place it on the side of the road where it can be seen clearly. If you are on a highway with high speeds, you might even need to place a second triangle further back to give them even more warning.
If you do not have a triangle, you must find another way to signal your presence without putting yourself in danger. A bright piece of cloth or even a reflective vest tied to a branch can work, provided it is visible from a distance. Never stand in the middle of the lane to wave someone down, because that is a quick way to end up in the hospital. You must stay well off the tarmac and keep your eyes on the traffic at all times.
Always remember that visibility is about giving people time to think and adjust their speed. A driver caught by surprise might swerve into your car or into another vehicle, so your goal is to remove the element of surprise. It is better to walk a bit further back in the dark than to stay too close to the car and risk being hit by someone who did not see you coming.
Which tools do you need for a spare wheel change?
Before you start turning bolts, you must check that you have the right gear in your boot. You cannot regmaak a tyre with just your bare hands and a bit of luck. You need the heavy metal parts that came with the car, specifically the jack, the wheel brace, and the spare wheel itself. Check that the spare is actually inflated before you find yourself stuck on a dark road with a flat piece of rubber that cannot carry any weight.
The jack is your most important tool, but it must be in good working order. I have seen people try to use a rusted or bent jack that looks like it might fail at any moment. If the jack is weak, the car could slip, and that is a situation no person should ever be in. You also need a sturdy wheel brace, which is the heavy metal tool used to loosen the lug nuts. If this tool is too small or too soft, you will find yourself struggling with a bolt that refuses to budge.
A good set of tools makes the job much easier and prevents unnecessary sweat and frustration. It is wise to keep a pair of thick work gloves in your kit so you do not cut your hands on sharp metal or grime. A small flashlight is also a lifesaver if the sun starts to go down while you are working. If you can, keep a wooden block or a flat stone nearby to place under the opposite side of the car for extra stability. Having these small things ready means you can focus on the task instead of searching through a messy boot.
How do you use the jack and tighten the nuts?
Before you even touch the jack, you must loosen the lug nuts while the tyre is still touching the ground. If you lift the car first, the wheel will just spin in the air and you will be going nowhere fast. Use your wheel brace to give the nuts a firm turn against the direction of rotation. You do not need to take them all the way off yet, just enough to break the tension so they can move easily once the weight is lifted.
Now you must find the correct lifting point on the car frame. Every vehicle has a specific spot designed for the jack, and if you place it on a piece of plastic or a thin metal panel, you will crush it like a tin can. Check your owner's manual if you are unsure, as putting the jack in the wrong place is a recipe for disaster. Once the jack is positioned securely, start turning the handle slowly to lift the vehicle.
You only need to lift the car high enough so that the flat tyre clears the ground and gives you room to work. Do not get too ambitious by lifting it too high, because a tall car on a small jack is an unstable thing. If the ground is soft or uneven, the jack might slip, so keep a close eye on how it sits. It is much better to lift it just enough than to risk the whole machine sliding off.
Once the spare is on and you have lowered the car back down, it is time to tighten those nuts properly. Do not just tighten them in one spot, as this can leave the wheel sitting crooked on the hub. You must tighten them in a star pattern, skipping one nut and moving to the next across from it. This ensures even pressure all around the wheel. Give each nut a final, heavy pull with the brace to make sure everything is tight and secure before you pack your tools away.
What are the limits of a space saver spare?
That little space saver wheel in your boot is a useful thing, but do not go thinking it is a full replacement for a proper tyre. It is thin and narrow by design, meant only to get you from the side of the road to a service centre. You cannot drive on it like a normal tyre, because it lacks the grip and the strength to handle heavy loads or high speeds. If you try to push it too hard, you will find yourself in more trouble than when you started.
There is always a speed limit you must respect with this type of spare. Most manufacturers tell you not to go over eighty kilometres per hour, so keep your eyes on the speedometer and do not get carried away. If you drive too fast, the car will feel light and unstable, especially when you take a corner or hit a pothole. It is a temporary fix, a way to maak 'n plan until you can get a real tyre fitted.
You also have to remember that this small wheel cannot carry the full weight of a loaded vehicle. If your car is packed with heavy luggage or many passengers, the pressure on that thin piece of rubber is much greater than it should be. It is best to keep the load light and avoid any long journeys while using it. Treat it with care, drive slowly, and remember that its only job is to bridge the gap until you reach a shop.
The moment you have a proper tyre ready, you must get it fitted. A space saver is not built for the long haul, and running on it for too many days can lead to damage or even a blowout. Once you reach a garage, get your full sized tyre replaced so you can drive with peace of mind again. It is better to spend a little now than to face a much bigger bill later when that small wheel fails you.
Conclusion
Changing a tyre is about being prepared and knowing your limits. You must loosen the nuts before lifting, use the correct jacking point, and tighten everything in a star pattern to keep the wheel secure. Remember that a space saver is only for temporary use at low speeds with a light load.
If you follow these steps, you can maak 'n plan without causing more damage to your vehicle. It is always better to take your time and do the job right than to rush and end up with a broken jack or a loose wheel. Once you are back on the road, head straight to a tyre shop to get a proper replacement fitted.
This guide sits under our pillar guide.